Table of Contents
Ever find yourself staring into the fridge, wondering what to pack for lunch? I do, like, every single day. That's when the idea of a greek salad in a jar recipe hit me. It's not just a salad; it's a work of art, a perfectly layered masterpiece that keeps everything fresh and crunchy until you're ready to dig in. This isn't your soggy desk lunch. We're talking vibrant colors, bold flavors, and total portability. Forget sad, wilted greens. We're about to conquer lunch prep with a mason jar and some serious salad skills. In this article, we’ll explore why this method is a game-changer, how to layer your ingredients like a pro, and some insider tips to make your greek salad in a jar recipe the envy of everyone in the office. Get ready to elevate your lunch game – one jar at a time!
Why Greek Salad in a Jar is Awesome
Why Greek Salad in a Jar is Awesome
The No-Sog Factor
Okay, let's be real, soggy salads are the worst. You know the feeling. You pack your greens, your dressing, and by lunchtime, it's all a sad, watery mess. But the beauty of a greek salad in a jar recipe is the layering system. The dressing goes at the bottom, away from the lettuce, keeping everything crisp and fresh. It’s like a little insurance policy against lunchtime disappointment. No more wilted lettuce, just pure, crunchy goodness. This method is a total game changer, trust me.
I remember one time I packed a regular salad in a plastic container, and by the time I got to eat it, the tomatoes had made everything mushy. It was like eating soup with a fork. The jar method? Solved that problem instantly. It's not just about avoiding sogginess, it's about preserving the texture and taste of each ingredient.
Meal Prep Made Easy
Meal prepping can feel like a chore, but a greek salad in a jar recipe makes it almost fun. You can assemble several jars at once, and they'll stay fresh in the fridge for days. This means no more last-minute scrambles for lunch or unhealthy takeout options. It's a grab-and-go solution that’s both healthy and convenient. Plus, seeing those colorful layers in your fridge is oddly satisfying, like having a mini-rainbow cheering you on.
I used to spend my Sunday evenings dreading the thought of packing lunches for the week. Now, I just spend a little time layering my jars, and I'm set. It’s like a mini-victory every time I pull one out of the fridge. It’s a small thing, but it makes a big difference in my week. This method is perfect for busy people who want to eat well without spending hours in the kitchen every day.
Benefit | Description |
|---|---|
No Soggy Salads | Layering keeps dressing separate until you're ready to eat. |
Easy Meal Prep | Prepare multiple jars in advance for the week. |
Portability | Perfect for taking to work, school, or picnics. |
A Feast for the Eyes
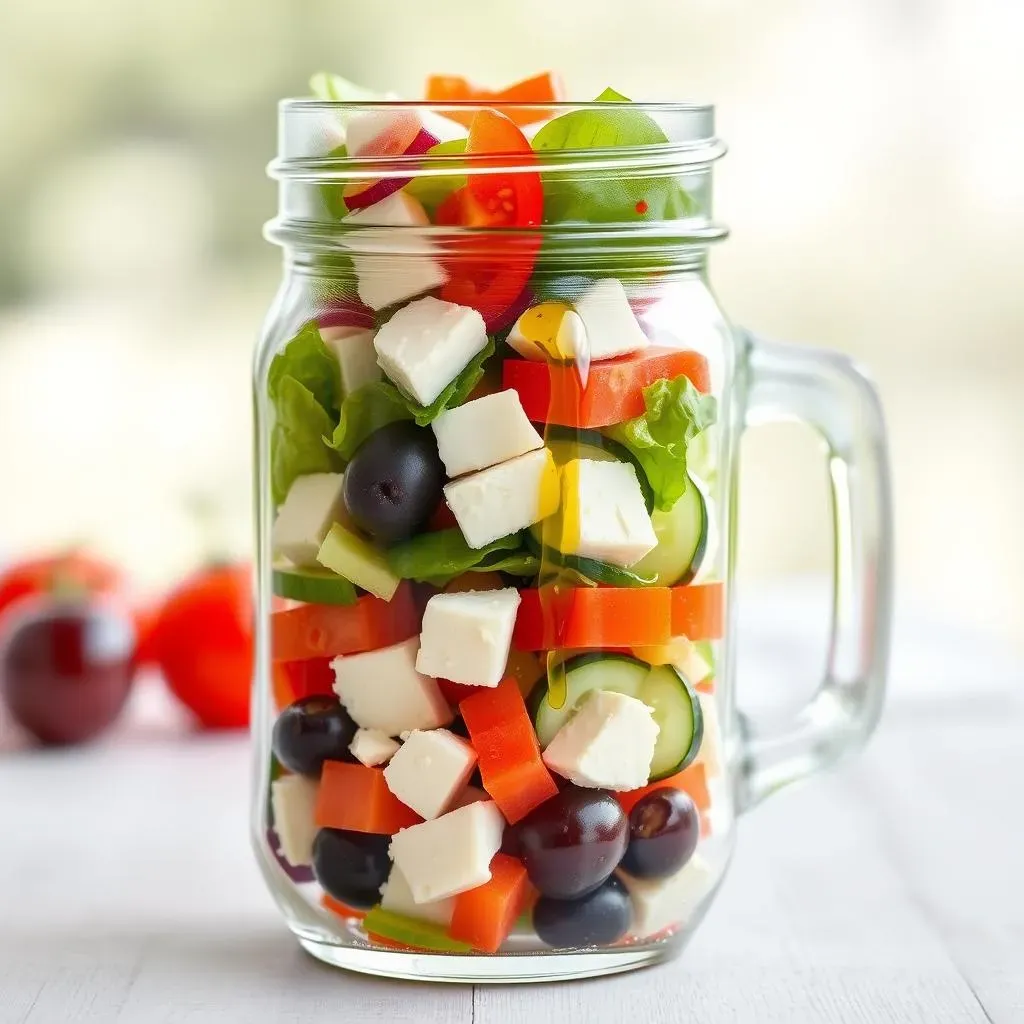
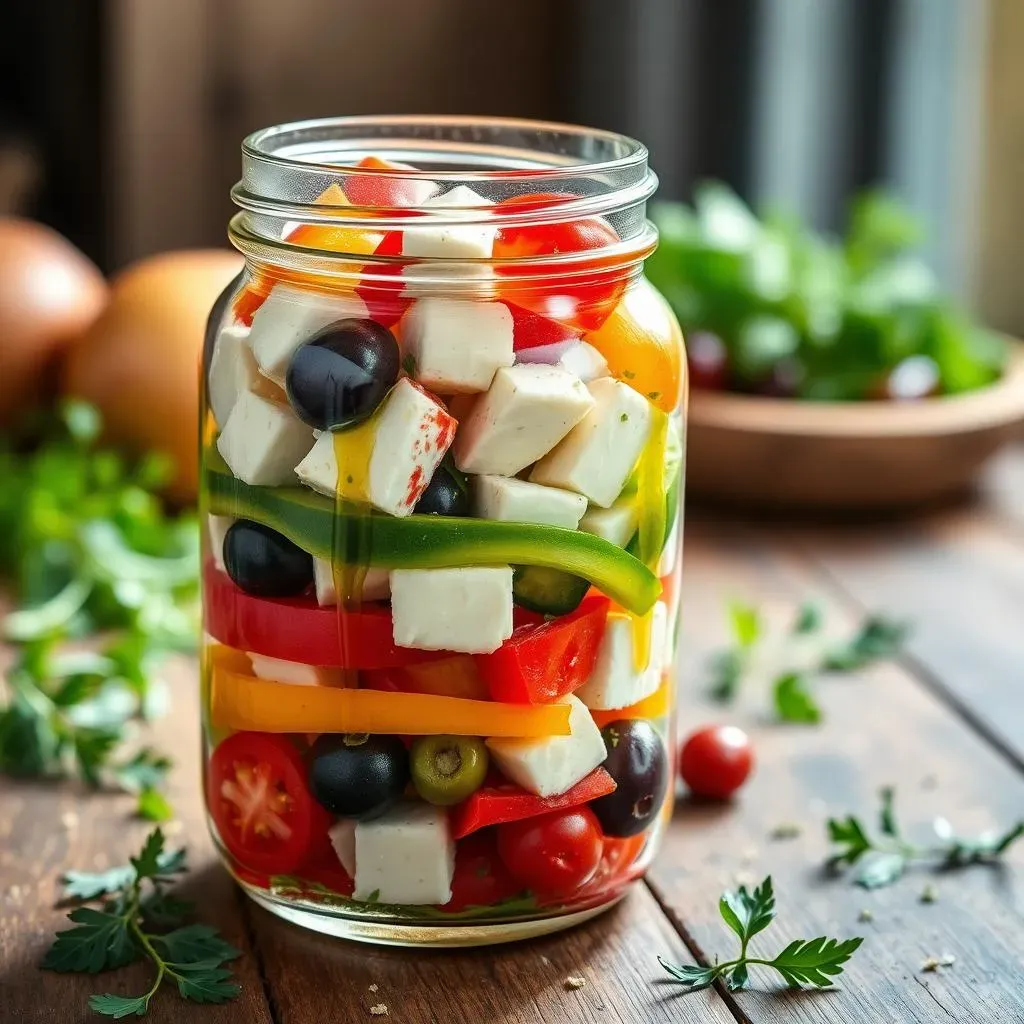
Let's face it, food should be visually appealing, and a greek salad in a jar recipe delivers. The vibrant colors of the tomatoes, cucumbers, olives, and feta layered in a clear jar are just gorgeous. It's like a tiny, edible art installation. This visual appeal can actually make you more excited to eat your healthy meal. It’s not just about nutrition; it’s about enjoying the experience.
I’ve noticed that when my lunch looks good, I’m more likely to savor it. It's kind of like how you enjoy a beautifully plated dish at a fancy restaurant. The jar method turns a simple salad into something special. It’s a little bit of joy in a jar, and who couldn't use more of that in their day? It's a simple trick, but it makes a huge difference in how I approach my midday meal.
Layering Your Greek Salad in a Jar Like a Pro
Layering Your Greek Salad in a Jar Like a Pro
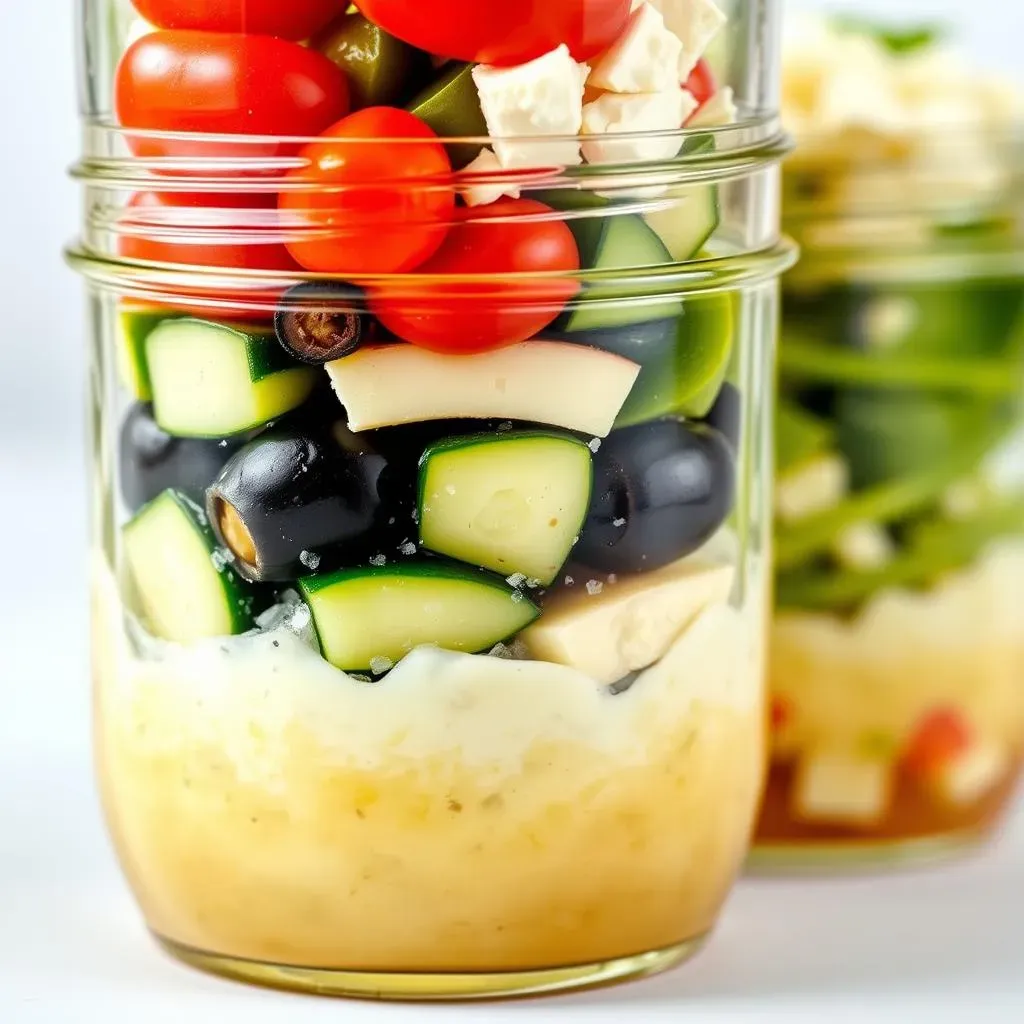
The Foundation: Dressing First
Alright, let's get down to the nitty-gritty. The most crucial step in a greek salad in a jar recipe is layering, and it all starts with the dressing. I know it seems weird to put it at the bottom, but trust me on this. You want to pour your dressing directly into the jar first. This creates a barrier between the wet stuff and the dry ingredients. It's like building a tiny fortress against sogginess. I usually use about 1/4 cup of dressing for a standard-sized mason jar, but you can adjust it to your liking. Just make sure it's enough to coat everything when you finally shake it up, but not so much that it drowns your salad.
I once forgot this golden rule and put the dressing on top. By lunchtime, my salad was swimming in a pool of vinaigrette, and the lettuce was sad and limp. It was a soggy disaster, a real lesson learned. So, remember, dressing down first – it's the key to a crisp, satisfying salad.
Building Up: The Veggie Layers
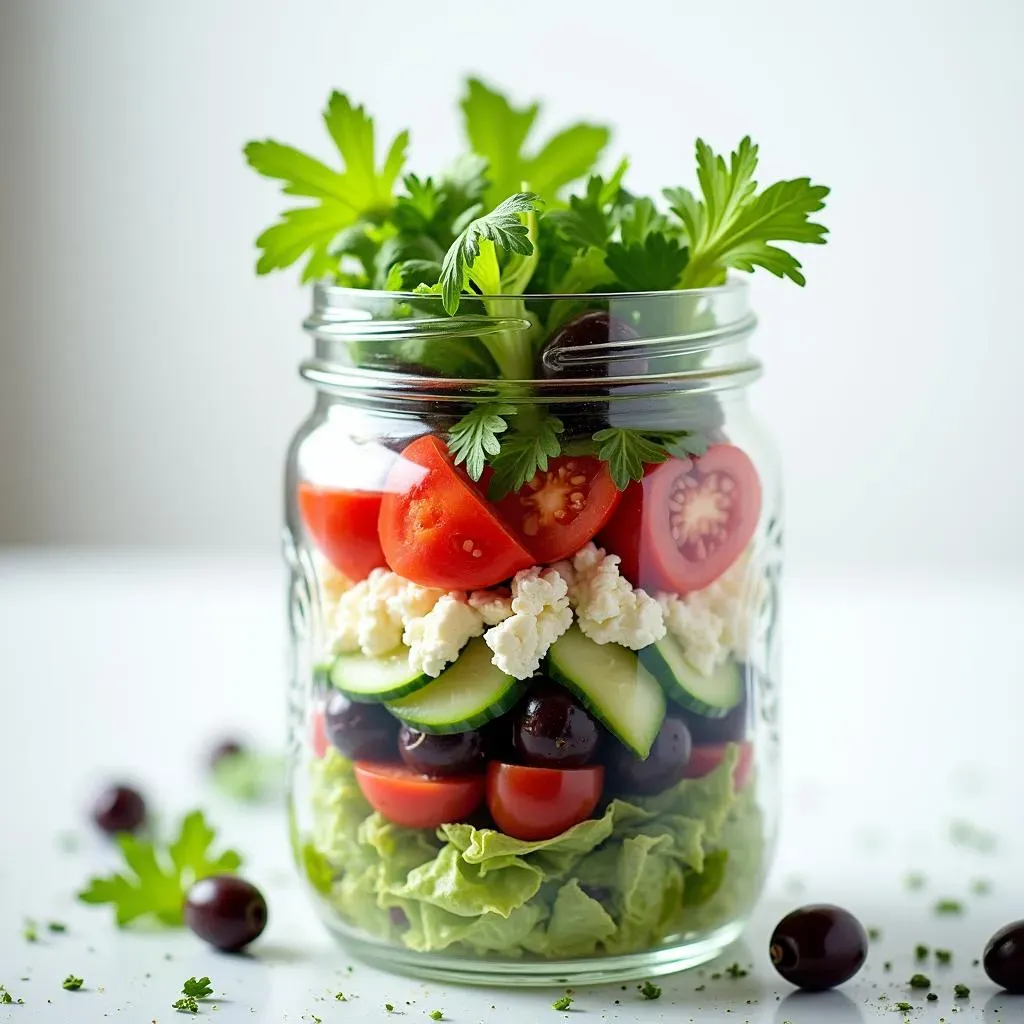
Next up, we're going to start layering the veggies. Think of it like building a colorful tower, each layer adding its own texture and flavor. After the dressing, I typically go for the heartier veggies first – things like artichoke hearts, cucumbers, and olives. These guys can handle a little bit of dressing exposure without getting too mushy. Then, add your tomatoes. I like to use cherry tomatoes, cut in half, because they pack a lot of flavor and hold their shape well. Finally, add your feta cheese. I put it closer to the top, so it doesn't get too soggy when you shake it up later.
It's important to not overpack the jar. You need to leave some room at the top so you can shake it up when you're ready to eat. This ensures that the dressing coats all the ingredients evenly. Plus, if you pack it too tight, you might end up with a mess when you try to empty it out. Think of it like a well-organized closet, everything has its place and a little breathing room.
Layer | Ingredient Type | Why |
|---|---|---|
Bottom | Dressing | Creates a barrier against sogginess |
Next | Hearty Veggies (Artichoke hearts, cucumbers, olives) | Tolerate dressing exposure |
Middle | Tomatoes (cherry tomatoes, halved) | Hold their shape well |
Top | Feta Cheese | Avoids excessive sogginess |
Making Greek Salad in a Jar: Tips & Tricks for the Best Results
Making Greek Salad in a Jar: Tips & Tricks for the Best Results
The Right Jar Makes a Difference
Okay, so you've got your ingredients, you're ready to assemble, but hold up – let's talk jars. Not all jars are created equal when it comes to a greek salad in a jar recipe. I've found that wide-mouth mason jars are the absolute best. They're easy to fill, easy to clean, and most importantly, easy to eat from. The wide mouth makes it simple to pour the salad out onto a plate or to eat directly from the jar if you're on the go. Plus, they come in different sizes, so you can choose the one that fits your portion needs. I usually use a 1-quart jar for a good-sized lunch, but smaller jars are great for snacks or side salads.
I once tried using a regular jar with a narrow opening, and it was a total disaster. Trying to get the salad out was like trying to pull a rabbit out of a hat – messy and frustrating. The wide-mouth jar? It's like the VIP pass to salad enjoyment. It might seem like a small detail, but having the right jar really makes a difference in the overall experience. It’s all about making the process as smooth and enjoyable as possible.
Shake It Up, Baby!
Alright, your jar is layered, looking all pretty, but it's not ready to eat just yet. The final step is the shake. Before you dig in, you need to give your greek salad in a jar recipe a good shake. This will mix the dressing throughout all the ingredients, ensuring that every bite is perfectly coated and flavorful. I like to hold the jar tightly and give it a good, vigorous shake for about 15-20 seconds. You’ll see the dressing start to coat everything, and the salad will transform from a layered tower into a delicious mix.
It's kind of like a mini-dance party for your salad. I remember the first time I did this, I was amazed at how well it mixed everything. It's not just about getting the dressing distributed; it's also about bringing all the flavors together. It’s like a symphony of tastes and textures, all working in harmony. It’s a simple step, but it’s a crucial one, so don't forget to shake it up!