Table of Contents
Ever found yourself staring into the pantry, wondering what simple side dish could possibly spice up your dinner? Let me introduce you to Israeli couscous, also known as pearl couscous. It’s not your average couscous, oh no. These little balls of toasted semolina are like tiny flavor sponges, ready to soak up whatever deliciousness you throw their way. We're talking about a dish that’s both ridiculously easy to make and incredibly versatile. This isn't just another grain; it's a texture adventure, offering a delightful chewiness that’s far from boring. In this article, we’ll cover everything from what makes Israeli couscous different from its smaller Moroccan cousin, to my foolproof method for cooking it, and even a few of my favorite ways to serve it. Get ready to transform your weeknight meals with this simple yet satisfying staple: the perfect israeli couscous recipe side dish is just a few minutes away, and I am here to guide you.
What is Israeli Couscous and How is it Different?
What is Israeli Couscous and How is it Different?
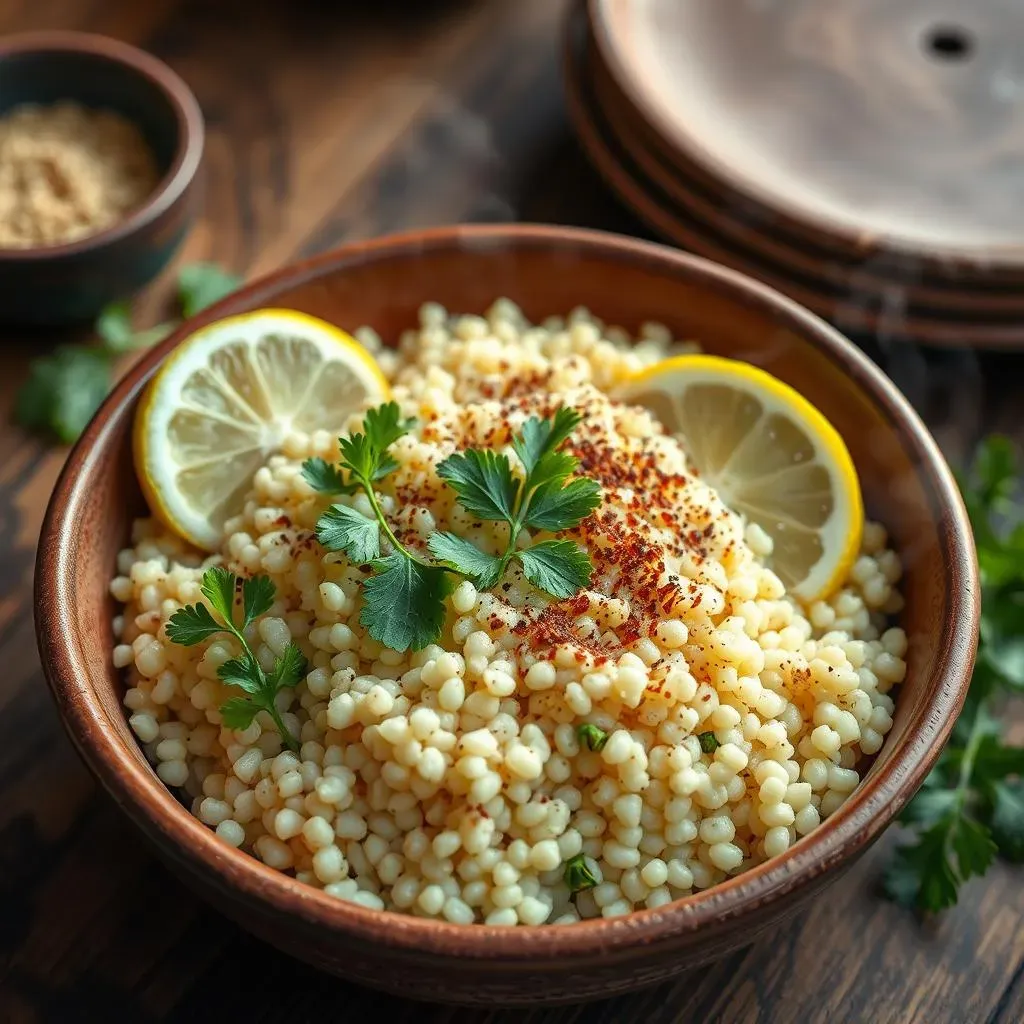
So, you've heard of couscous, right? The tiny, almost sand-like stuff? Well, Israeli couscous is like its bigger, bolder cousin. It's also called pearl couscous because, unlike the finely ground Moroccan variety, these are little spheres about the size of peppercorns. Both are made from semolina flour, but that's where the similarities pretty much end. The key difference is in the processing: Moroccan couscous is steamed, while Israeli couscous is toasted. This toasting is where the magic happens. It gives Israeli couscous its unique, slightly nutty flavor and that delightful chewy texture that makes it so satisfying. Think of it like the difference between a regular white bread and a perfectly toasted sourdough; both bread, but worlds apart in taste and feel.
Another big difference? Size and shape! While Moroccan couscous is tiny and fluffy, Israeli couscous is larger and round, almost like tiny pasta balls. This means it cooks differently and has a completely different mouthfeel. It's also great at holding its shape, which makes it perfect for salads and grain bowls. So, if you’re looking for something a little more substantial and interesting than the standard couscous, Israeli couscous is definitely the way to go. It's like the cool, slightly rebellious sibling in the couscous family, always ready to add a little flair to your plate.
Feature | Moroccan Couscous | Israeli Couscous |
|---|---|---|
Size | Tiny, grain-like | Larger, pearl-shaped |
Texture | Fine, fluffy | Chewy, slightly firm |
Processing | Steamed | Toasted |
Flavor | Mild, subtle | Nutty, slightly toasted |
Simple Steps to Cooking Perfect Israeli Couscous
Simple Steps to Cooking Perfect Israeli Couscous
The Toasting Technique
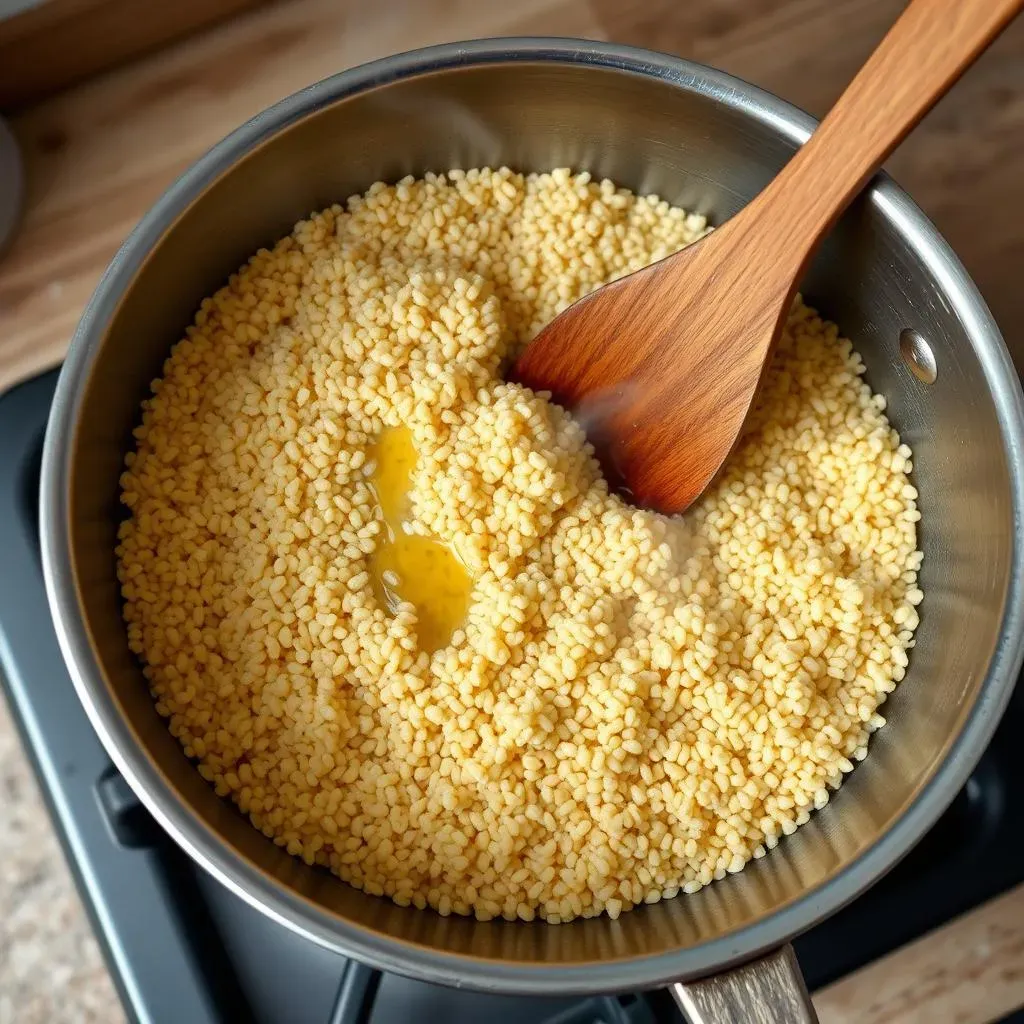
Alright, let's get down to the nitty-gritty. Cooking Israeli couscous isn't rocket science, but there's a little trick that makes all the difference. First, you're going to want to grab a medium-sized pot and drizzle in some good quality olive oil – don’t skimp here, it adds flavor! Then, toss in your dry couscous and stir it around over medium heat. You're not trying to burn it, just lightly toast it for a few minutes. This toasting step is crucial; it enhances that nutty flavor we talked about earlier and it also helps the couscous maintain its shape when cooked. Think of it like waking up the flavor, giving it a little nudge to be its best self. You’ll know it's ready when it smells amazing and has turned a light golden brown.
The Liquid Ratio
now that your couscous is nicely toasted, it’s time to add the liquid. This is where some people might get a little nervous, but I promise it’s simple. The magic ratio is usually 1:1.25, meaning for every cup of dry couscous, you’ll want to use 1 and a quarter cups of liquid. You can use water, but I highly recommend using broth – chicken, vegetable, or even beef broth for an extra layer of flavor. Bring the liquid to a boil, and then add the toasted couscous, give it a stir, and reduce the heat to low. Cover the pot and let it simmer for about 10 to 14 minutes, or until all the liquid is absorbed and the couscous is tender. Resist the urge to peek or stir too much; let it do its thing. It's like letting a good stew simmer; patience is key.
- Toast couscous in olive oil for 3-5 minutes
- Add 1.25 cups of liquid for every 1 cup of dry couscous
- Simmer covered for 10-14 minutes, or until liquid is absorbed
Fluff and Serve
Once the couscous is cooked, remove the pot from the heat and let it sit, covered, for another 5 minutes. This allows it to steam and become even more fluffy. Then, grab a fork and gently fluff the couscous. You’ll see how each little pearl is perfectly cooked and separate, not mushy or clumpy. Now, you’re ready to serve it up! You can keep it simple with a drizzle of olive oil and a sprinkle of salt, or go wild with herbs, spices, or other mix-ins. The beauty of Israeli couscous is that it’s a blank canvas, ready for your culinary imagination. It's like a little edible sponge, ready to soak up all the deliciousness you can dream up.
Flavorful Israeli Couscous Recipe Ideas for Any Meal
Flavorful Israeli Couscous Recipe Ideas for Any Meal
Mediterranean Magic
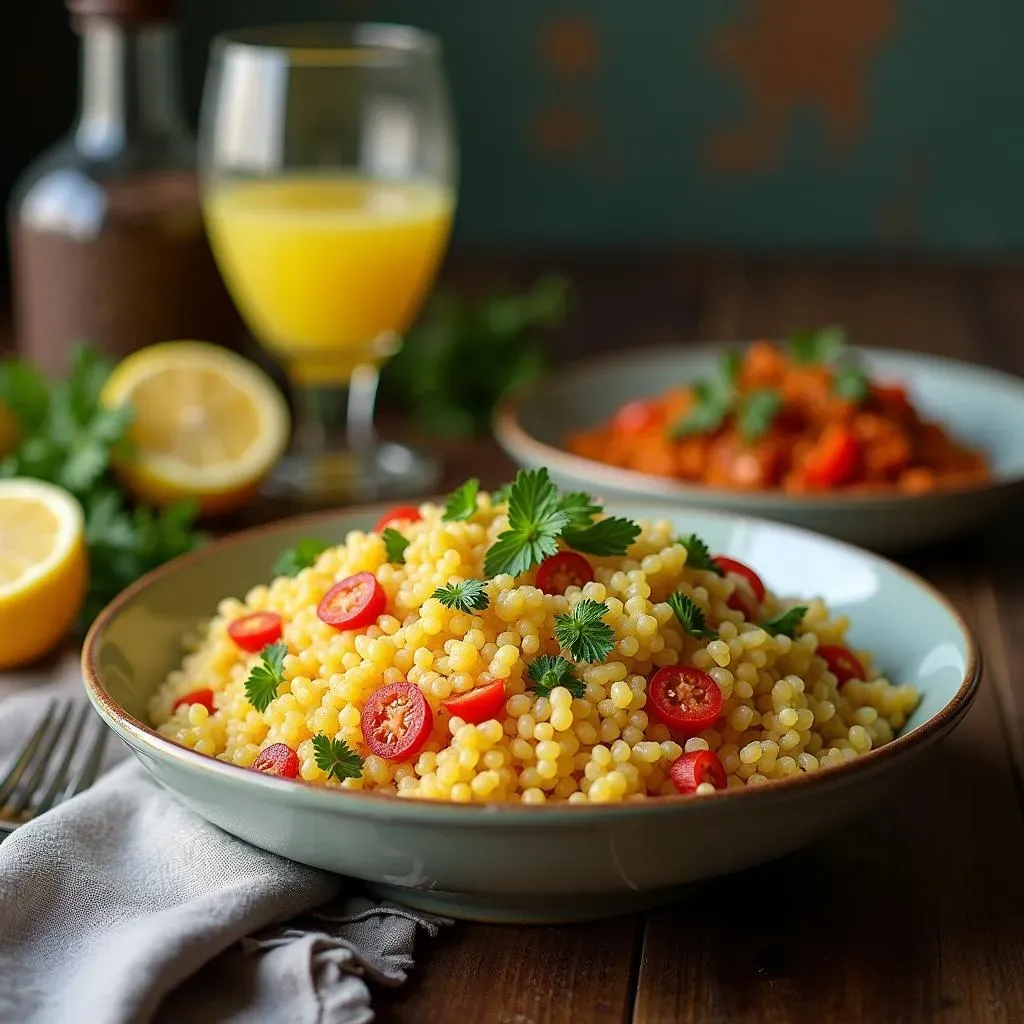
so you've got your perfectly cooked Israeli couscous, now what? Let's start with something bright and fresh: a Mediterranean-inspired dish. Think vibrant colors and bold flavors. I like to toss my couscous with chopped cucumber, juicy tomatoes, some Kalamata olives, and crumbled feta cheese. Then, I make a simple dressing with olive oil, lemon juice, a little garlic, and some dried oregano. It’s like a burst of sunshine in a bowl, perfect for a light lunch or a side with grilled chicken or fish. It's so simple, but it tastes like you've been slaving away in the kitchen for hours. Honestly, this is one of my go-to's when I need something quick but impressive.
Spice It Up!
If you're in the mood for something a bit more adventurous, why not add some spice? A little harissa paste or a sprinkle of cumin can transform your couscous into something warm and exotic. I love sautéing some diced onions and bell peppers, then mixing them into the couscous with a handful of toasted pine nuts and some chopped fresh cilantro. This is fantastic as a side with Moroccan tagine or as a base for a vegetarian bowl. It’s amazing how a few spices can completely change the character of a dish. Don't be afraid to experiment with your favorite flavors – a little chili flakes, a dash of turmeric, or even some smoked paprika can take your couscous to a whole new level. It's all about creating something that sings to your taste buds.
Flavor Profile | Ingredients | Serving Suggestion |
|---|---|---|
Mediterranean | Cucumber, tomato, olives, feta, lemon dressing | Light lunch, side with grilled meats |
Spicy Moroccan | Harissa, cumin, onions, peppers, pine nuts, cilantro | Side with tagine, vegetarian bowl base |
Garlic and Herb Bliss
Sometimes, simplicity is best. A simple garlic and herb version of Israeli couscous is never a bad idea. I’ll start by sautéing some minced garlic in olive oil until it's fragrant, then I'll toss in the cooked couscous along with a generous amount of fresh herbs – parsley, dill, and chives are my favorites. A squeeze of lemon juice brightens everything up. This is a perfect side dish for almost anything. It’s understated but satisfying, a testament to how good simple flavors can be. It's a dish that makes you feel good, like a warm hug in a bowl.
Sweet and Savory Twist
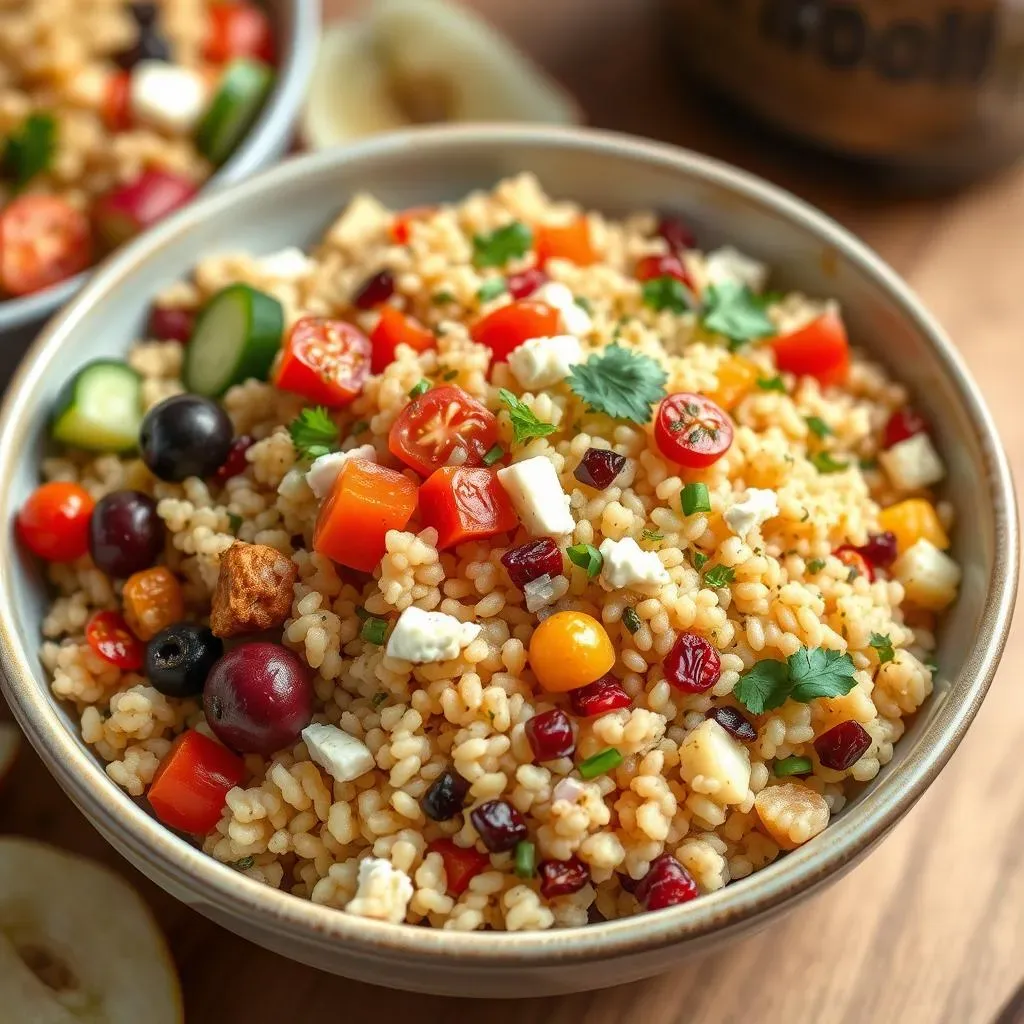
Let's get a little creative! Have you ever considered adding some sweetness to your couscous? I love to sauté some diced apples or dried cranberries with a little butter and cinnamon, then toss them with the cooked couscous along with some toasted pecans. This sweet and savory combination is amazing as a side with roasted chicken or pork, or even as a light dessert. It’s a delightful surprise for your taste buds, proving that couscous can be so much more than just a side dish. It's about challenging the norm and finding new ways to enjoy simple ingredients. It's a fun twist that will have everyone asking for seconds.
- Garlic & Herb: Sautéed garlic, fresh parsley, dill, chives, lemon.
- Sweet & Savory: Sautéed apples or cranberries, cinnamon, pecans.
Storing and Reheating Your Israeli Couscous Side Dish
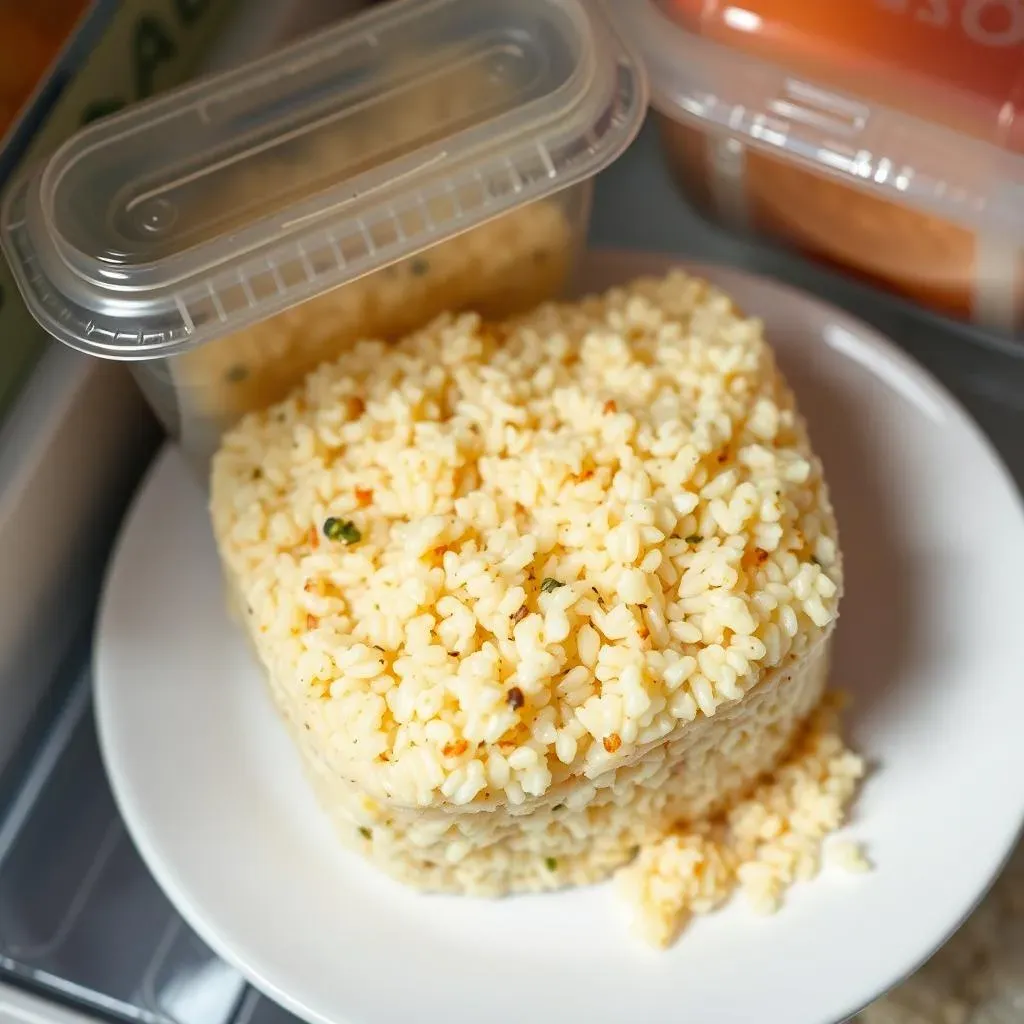
Storing and Reheating Your Israeli Couscous Side Dish
so you've made a big batch of this delicious Israeli couscous, and now you’re wondering what to do with the leftovers, right? Don’t worry, I've got you covered. Storing and reheating couscous is super simple, and it’s a great way to meal prep for the week. First things first, let’s talk about storage. Once your couscous has cooled down a bit, transfer it to an airtight container. This is crucial to keep it from drying out and absorbing any weird fridge odors. I usually portion it out into individual containers, which makes grabbing a quick lunch or side super easy. It can hang out in the fridge for about 3 to 4 days, no problem. But, if you're planning on keeping it longer, you can also freeze it. Just make sure it’s completely cooled before you pop it in the freezer, and it will keep well for 3-4 months. Now you have a quick and easy meal at your fingertips!
Reheating couscous is just as straightforward. If it’s been in the fridge, you can simply pop it in the microwave with a splash of water or broth to help it rehydrate and prevent it from drying out. Heat it in short bursts, stirring in between, until it’s warmed through. Another option is to reheat it on the stovetop. Put it in a pan with a little liquid over low heat, stirring occasionally until it’s heated through. This method is a tad slower but it helps keep the texture nice and fluffy. If you're reheating from frozen, it’s best to thaw it in the fridge overnight before reheating, but if you’re in a pinch, the microwave will do the trick, just be sure to add that little bit of liquid. It’s like giving your couscous a second chance to shine, and honestly, sometimes it tastes even better the next day!
Storage Method | Duration | Tips |
|---|---|---|
Refrigerator | 3-4 days | Store in an airtight container |
Freezer | 3-4 months | Cool completely before freezing |
One of my favorite ways to use leftover couscous is to turn it into a quick salad. I'll toss it with some fresh veggies, a simple vinaigrette, and whatever protein I have on hand – maybe some leftover chicken, chickpeas, or even some hard-boiled eggs. It’s a fantastic way to create a new meal from something you've already cooked. It's like a culinary magic trick – transforming leftovers into something totally new and delicious. So, don’t be afraid to make a big batch, knowing that you’ve got quick and easy meals waiting for you throughout the week. It’s all about working smarter, not harder, in the kitchen.
Lastly, remember that reheating might slightly alter the texture, but with a little care, your Israeli couscous will still be delicious. If it seems a bit dry, add a touch more liquid during the reheating process. It’s like giving your couscous a little extra love and attention. I’ve found that reheating it with a little olive oil can also help keep it moist and flavorful. It’s all about experimenting and finding what works best for you. The possibilities are endless when you’re armed with a batch of cooked couscous, ready to be repurposed into new and exciting meals. So, go ahead, cook up a storm and enjoy every last bite – even the leftovers!
- Microwave: Add a splash of water or broth, heat in short bursts.
- Stovetop: Reheat with liquid over low heat, stir occasionally.
- From Frozen: Thaw in fridge overnight or use microwave with liquid
Wrapping Up Your Israeli Couscous Adventure
So, there you have it! Israeli couscous is not just another side dish; it’s a blank canvas for your culinary creativity. From its unique chewy texture to its ability to pair with just about anything, it's a fantastic addition to your kitchen repertoire. Whether you’re keeping it simple with garlic and herbs or going all out with a Mediterranean-inspired salad, the possibilities are endless. I hope this guide has shown you how easy it is to make this dish and has inspired you to experiment with your own flavors and combinations. Now go on, impress your friends and family with your newfound couscous skills, and make every meal a little more exciting, starting with this israeli couscous recipe side dish!