Table of Contents
Ever wonder how to make a salad that's both satisfying and bursting with flavor? Forget those boring lettuce bowls. Today, we're diving into the world of israeli couscous salad with feta, a dish that’s way more exciting than it sounds. This isn't your average side salad; it’s a vibrant mix of textures and tastes that will have you coming back for more. We’ll start by showing you the secret to perfectly toasted couscous, which is the base for everything else. Then we'll explore all the delicious things you can throw in, from crunchy veggies to salty feta and tangy herbs. Finally, we'll talk about how to serve it up and keep it fresh. So, if you're ready to transform a simple salad into a culinary adventure, let's get started and create the most amazing israeli couscous salad with feta you've ever tasted!
Toasting Israeli Couscous: The Secret to Amazing Flavor

Toasting Israeli Couscous: The Secret to Amazing Flavor
Why Toasting Makes All the Difference
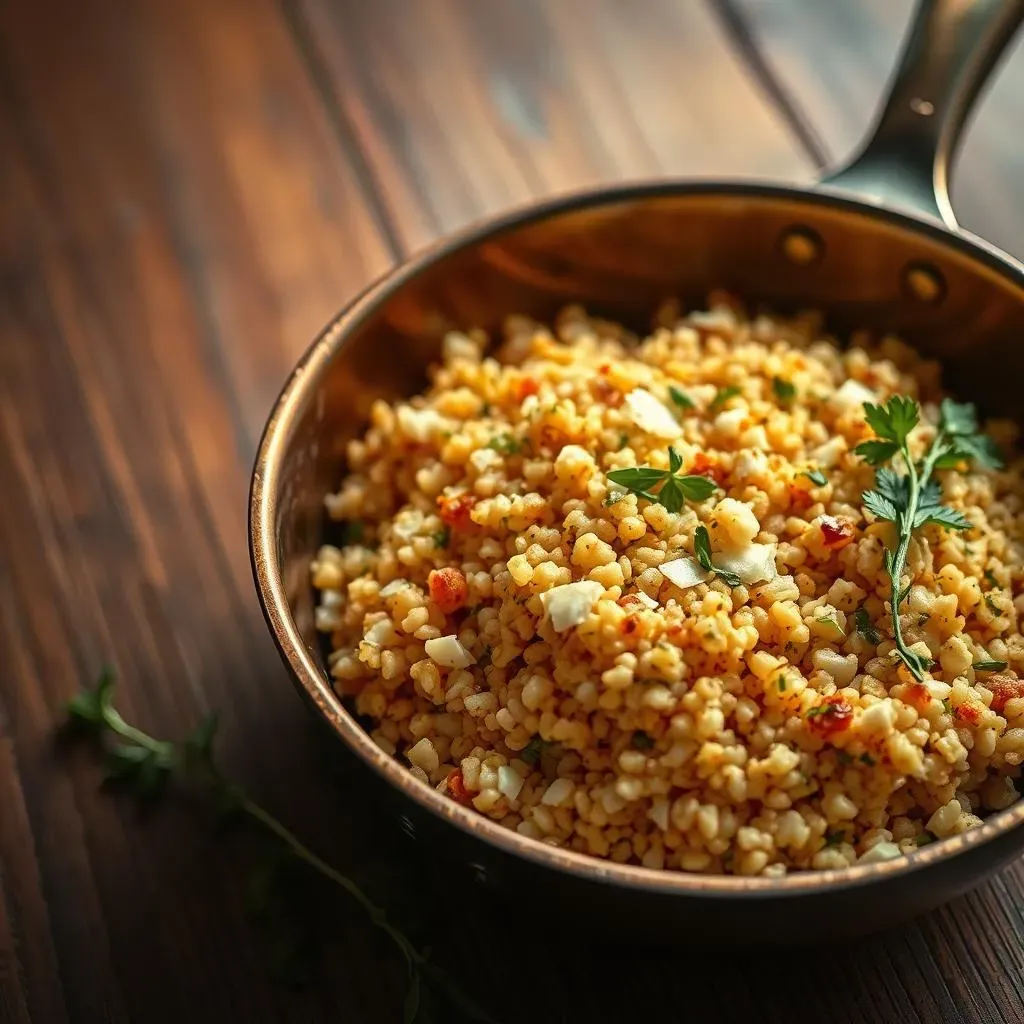
so you've got your Israeli couscous, those cute little pearls that look like tiny pasta balls. Now, before you just boil them, stop! Toasting them first is a total game-changer. I know, it might seem like an extra step, but trust me, it's worth it. Think of it like this: you wouldn't just eat raw toast, right? The same goes for couscous. Toasting brings out a nutty, almost roasted flavor that's missing if you just dump them straight into water. It also makes them a bit firmer, so they don't turn into a mushy mess in your salad. It's like giving your couscous a mini spa day—they come out transformed.
How to Toast Your Couscous Like a Pro
Now, let's get to the nitty-gritty. Grab a pan, put it over medium heat, and toss in your dry couscous. No oil yet! Just let those little guys hang out and get warm. Keep stirring them around so they don't burn. You'll start to smell this amazing toasted bread aroma, and they'll turn a light golden brown. That's when you know you're golden! This process usually takes about 3-5 minutes, but you'll see and smell when they're ready. Once they're toasted, you can add your water or broth and cook them as usual. I promise, this simple step will elevate your entire salad. It's the kind of secret ingredient that makes people ask, "What's your trick?"
Step | Action | Why |
|---|---|---|
1 | Heat a dry pan over medium heat | Prepares the pan for toasting |
2 | Add dry couscous to the pan | Start the toasting process |
3 | Stir constantly | Ensures even toasting and prevents burning |
4 | Toast until light golden-brown and fragrant | Indicates couscous is properly toasted |
Building the Perfect Israeli Couscous Salad: Ingredients and Combinations

Building the Perfect Israeli Couscous Salad: Ingredients and Combinations
The Veggie Powerhouse
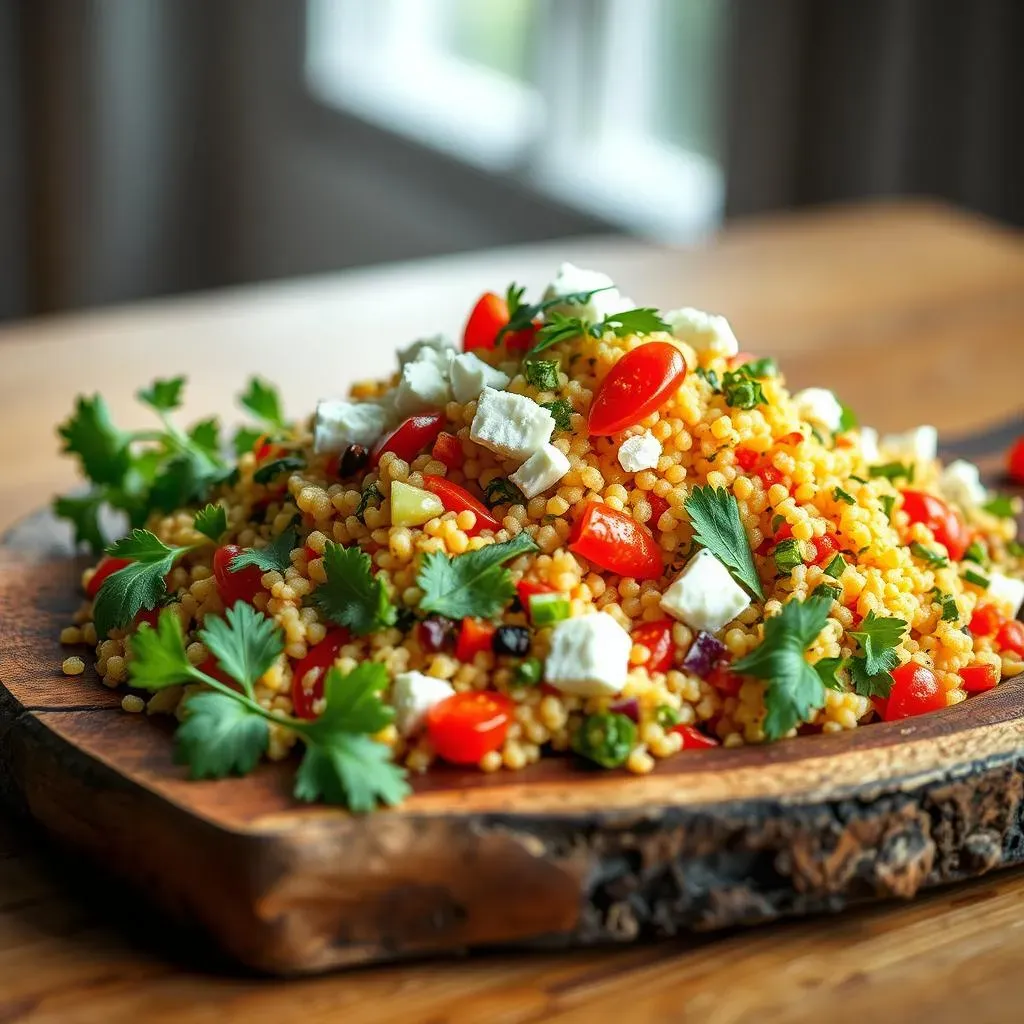
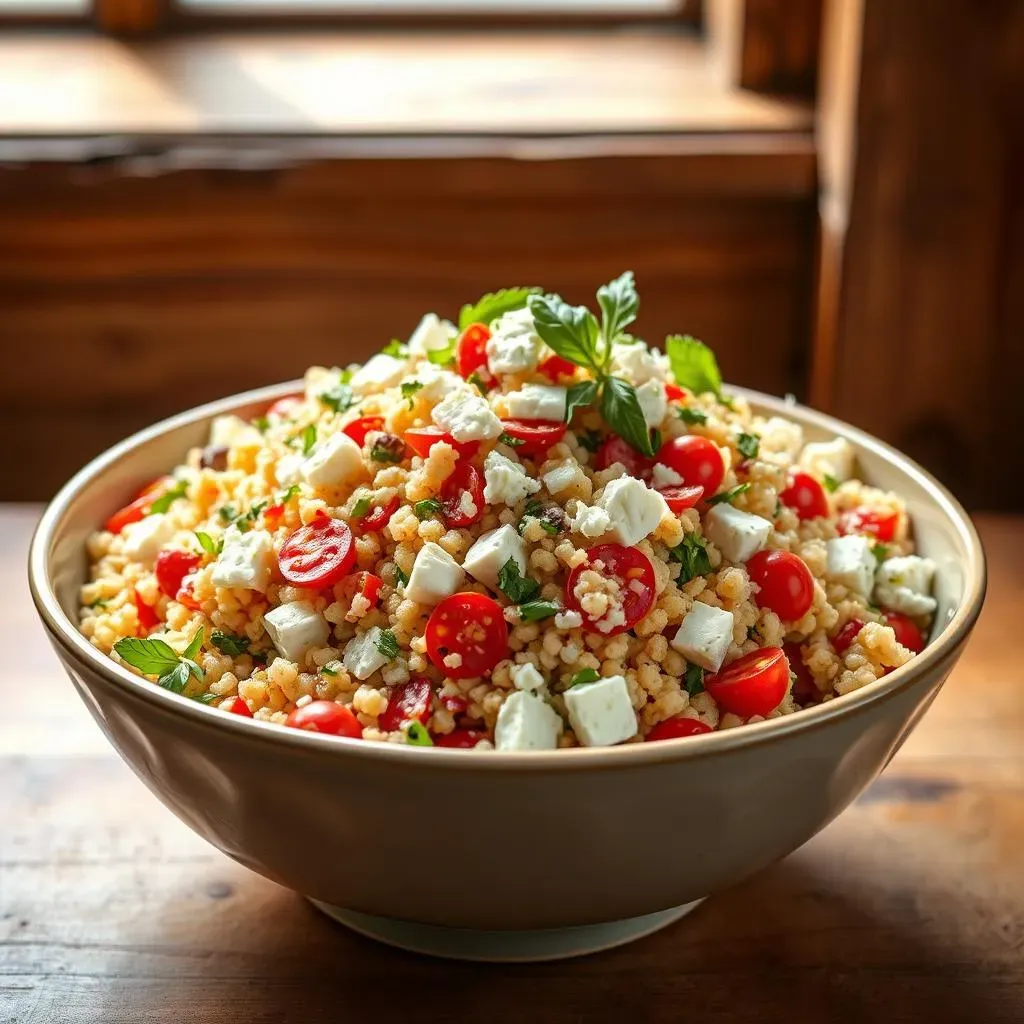
so your couscous is toasted and ready to go; now for the fun part – the mix-ins! This is where your creativity can shine. Think of it like building a flavor tower, each layer adding something special. For the veggie base, I love a combination of crunchy and juicy. Cucumbers are a must for that refreshing bite, and some finely chopped bell peppers add a sweet crunch. Tomatoes are great, but make sure they're not too watery, or they'll make your salad soggy. I usually go for cherry or grape tomatoes, halved or quartered. And if you're feeling fancy, a little red onion adds a nice zing.
Don't be afraid to experiment though! Zucchini, carrots, even some roasted sweet potato can be fantastic additions. The key is to chop everything into similar sizes, so you get a good mix in each bite. It's about creating a symphony of textures and colors, not just a pile of veggies. Oh, and a secret weapon? A few finely diced jalapenos if you like a little kick. It's a game changer, trust me.
Feta, Herbs, and the All-Important Dressing
Now, let’s talk about the stars of the show: feta, herbs, and the dressing. Feta cheese is a must; that salty, creamy goodness is the perfect counterpoint to the fresh veggies. I like to crumble it generously over the top; don't be shy! For herbs, fresh is best. Parsley and mint are my go-to, but dill, cilantro, or even some basil can work wonderfully. The herbs add a bright, aromatic lift that ties everything together. And finally, the dressing. I keep it simple: olive oil, lemon juice, a bit of salt, and pepper. You can also add a touch of honey or maple syrup for a touch of sweetness. Whisk it all together and drizzle it over your salad. The dressing shouldn't be too heavy; just enough to coat everything lightly.
Remember, the goal is to balance flavors. The saltiness of the feta, the freshness of the herbs, the tanginess of the dressing and the sweetness of the veggies all working together. It's like a puzzle where every piece fits perfectly. And don't be afraid to taste as you go, adjusting seasonings to your liking. This is your salad, make it your own!
Ingredient Category | Examples | Why it works |
|---|---|---|
Crunchy Veggies | Cucumber, Bell Peppers, Red Onion | Adds texture and freshness |
Juicy Veggies | Tomatoes, Zucchini | Adds moisture and flavor |
Salty Element | Feta Cheese | Provides a creamy, salty contrast |
Fresh Herbs | Parsley, Mint, Dill | Adds aroma and freshness |
Dressing | Olive Oil, Lemon Juice, Salt, Pepper | Ties all the flavors together |
Serving and Storing Your Israeli Couscous Salad with Feta

Serving and Storing Your Israeli Couscous Salad with Feta
Serving Suggestions: Making it a Meal
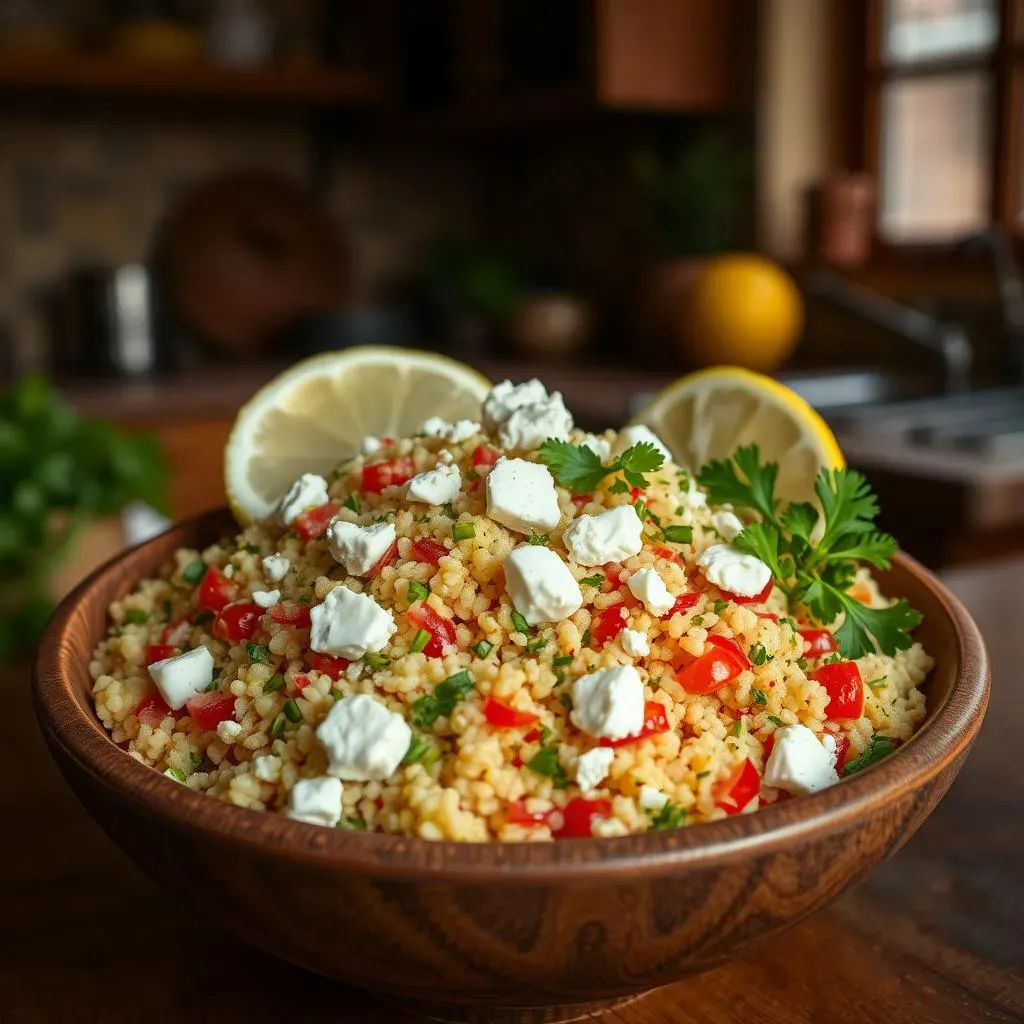
Alright, so your Israeli couscous salad with feta is looking amazing, but how do you serve it? Well, the beauty of this salad is its versatility. It's fantastic as a side dish, especially with grilled chicken, fish, or lamb. Think of it as the perfect partner for your summer barbecues. But it's also substantial enough to be a light lunch or even a vegetarian main course. If you want to make it a bit heartier, toss in some chickpeas or roasted vegetables. And if you're feeling fancy, you can serve it in individual bowls, garnished with a sprig of fresh herbs and a little extra feta. I've even seen people serve it in lettuce cups for a lighter option. The key is to present it in a way that shows off all those beautiful colors and textures.
Don't be afraid to get creative with your serving dishes. A big, colorful bowl makes it look inviting, or you can layer it in a glass jar for a more visually appealing presentation. And remember, a garnish can make all the difference. A sprinkle of extra feta, a drizzle of olive oil, or a few fresh herbs can elevate the look of your salad. I like to think of it as adding the finishing touches to a masterpiece. It’s not just about the taste, it's about the whole experience.
Keeping it Fresh: Storage Tips and Tricks
you’ve made this incredible Israeli couscous salad with feta, but what if you have leftovers? No problem! This salad actually holds up pretty well, making it perfect for meal prep. The key to keeping it fresh is to store it properly. I recommend using an airtight container to prevent it from drying out. If you've added tomatoes, you might want to drain off any excess liquid before storing to prevent it from getting soggy. And if you're planning to eat it later, it's best to store the dressing separately and add it just before serving. This will keep the salad from getting too mushy. I usually keep mine in the fridge for up to three days, and it still tastes great, sometimes even better because the flavors have had time to meld together.
One thing to note is that the feta might soften a bit after a day or two, but it doesn't affect the taste much. If you're making it ahead of time, you can always add a bit more feta just before serving to keep it nice and creamy. And while it's tempting to freeze the salad, I wouldn't recommend it. The couscous can get a bit mushy when thawed. So, stick to storing it in the fridge, and you'll have a delicious, ready-to-eat salad whenever you need it. It's the kind of salad that just keeps on giving.
Serving Idea | Description |
|---|---|
Side Dish | Pairs well with grilled meats or fish |
Light Lunch | Satisfying and flavorful on its own |
Vegetarian Main | Add chickpeas or roasted veggies for a heartier option |
Storage Tip | Why it Matters |
|---|---|
Airtight Container | Prevents drying out |
Drain excess liquid | Avoids sogginess |
Store dressing separately | Keeps salad from becoming mushy |
Refrigerate for up to 3 days | Maintains freshness |
Wrapping Up Your Israeli Couscous Salad Adventure
And there you have it, a vibrant and tasty israeli couscous salad with feta that’s ready to impress. From toasting the couscous to choosing your favorite mix-ins, you now hold the key to creating a salad that's anything but ordinary. This dish is so versatile, it’s perfect as a side, a light lunch, or even a potluck superstar. Don’t be afraid to experiment with different herbs, veggies, and dressings to make it your own. Remember, cooking should be fun, so go ahead and enjoy the delicious results of your israeli couscous salad with feta. I hope you have as much fun eating it as you did making it, and that it becomes a staple in your kitchen.
